Creating and publishing your siteStep 1: Creating the Publish ServiceUnlike with traditional Lightroom Web Engines, our Web Site Publishing Pro series of plugins use Lightroom 3's Publish Services to provide a significantly improved publishing experience. The Publish Services are listed at the bottom of the left hand set of panels in the library module. 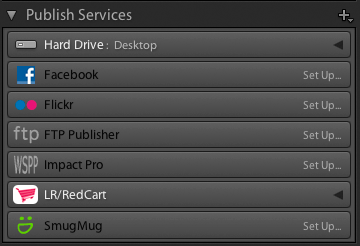 To start creating your site, click on the "Set Up..." button for the gallery that you're using (Impact is shwon above) to open the Publishing Manager. Similarly to a standard export you may define your watermarking, quality and sharpening settings, however you must also complete the information for the Web Site Publisher: 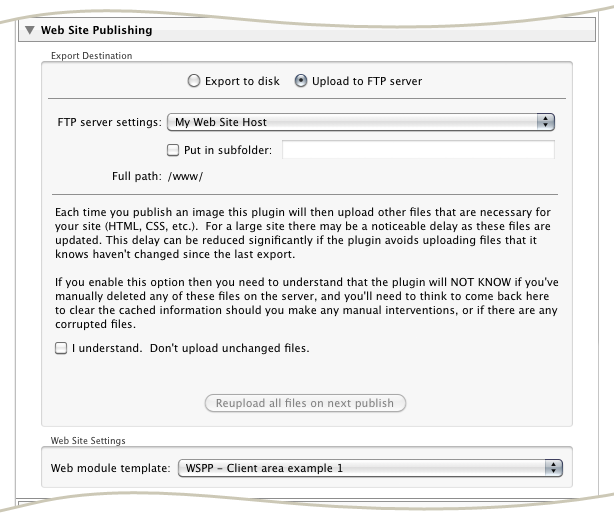 You can exported your site directly to your web host (check with them as to where your files should be exported), or else export to your harddrive. You should also choose the template file that you created when you designed your site. Note that you can revisit these settings at any time by right-clicking on the publish service and choosing "Edit Publish Service...". Step 2: Adding and modifying galleriesOnce you create the publish service you'll see that you have a new collection called "Gallery 1" — this is your first gallery. You can modify galleries, add new galleries or even sets of galleries by right clicking on the publish service and choosing the appropriate choice from the menu: 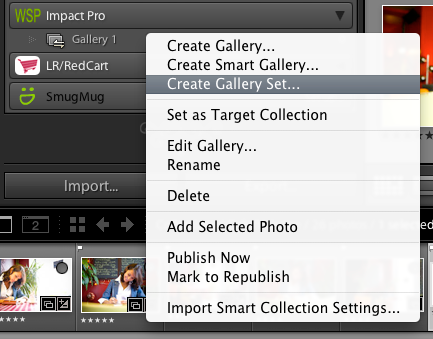 In all cases a dialog box will give you access to the options concerning the gallery (or gallery set): 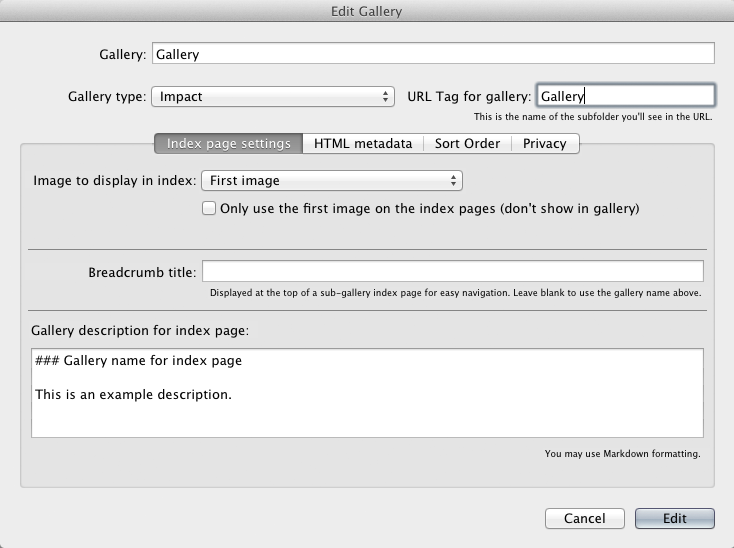 There are quite a few fields here, let's take a look:
Clicking on the "HTML metadata" tab reveals more options: 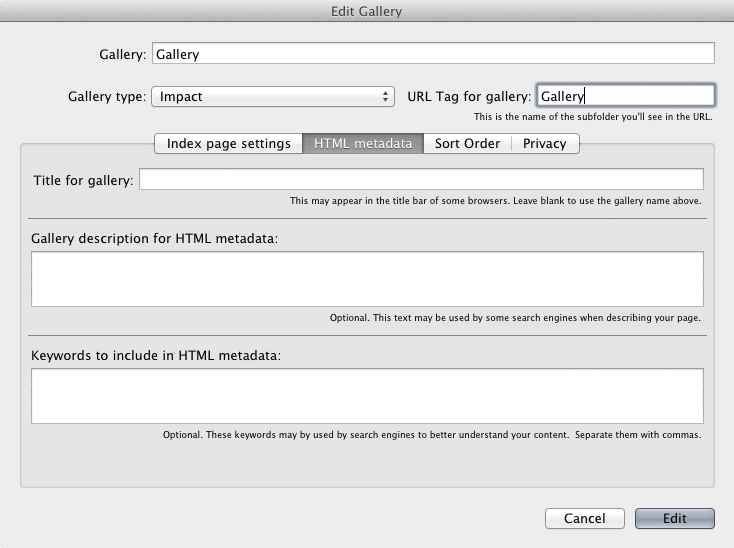 These options define information that tucked away into the metadata of your pages. It won't be visible on the site, but it will be available to search engines and it's therefore very important that you fill it in.
Clicking on the "Sort Order" tab will offer you options for controlling the order of the images in your gallery: 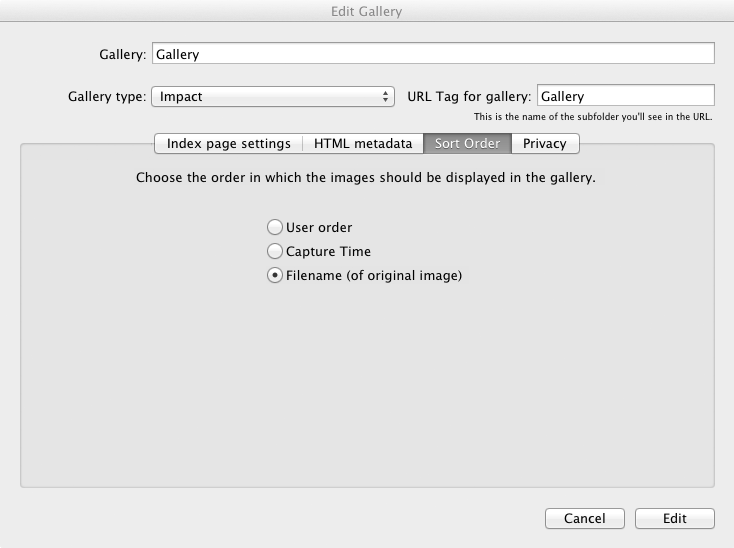 Note that if you choose "User Order" then you must also choose "User Order" from the tool bar: Gallery Sets also have a tab for the page content: 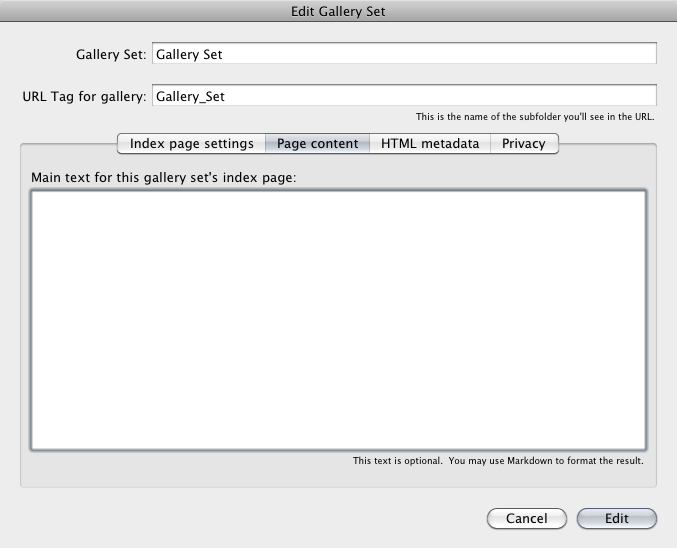 Note that whereas the "Index page settings" are concerned with how a gallery or set is represented on the index page in which it's displayed, this text will be displayed on the index page of the actual set concerned. Note also that the text for the top level gallery index (for which there is no associated collection set) is defined in the template that you create in the web module. By creating galleries and sets you can create a hierarchy of galleries for your site: 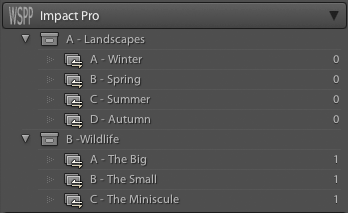 Note how we've prefixed the galleries and sets with a letter — the order of the galleries on the Gallery Index page of your web site will be dictated by the alphabetical order of the gallery names in the publish service. By giving each gallery a prefix we can control this ordering. The user won't see this because the gallery names here aren't used on the site itself (unless you've left fields blank in the gallery's settings). Step 3: Publishing your galleryPublishing your site is the easy bit. Just add some images to your galleries, select them and press the "Publish" button. You can select several galleries or sets in one go by holding down <cmd> on the Mac or <ctrl> on Windows and clicking on each gallery. In this way you can create the entire web site with just one click on the publish button! If you add new images to your galleries or modify existing ones then Lightroom will mark them for publishing. When you publish them they'll be uploaded and the publish service will regenerate the rest of the site. If you're used to traditional Lightroom galleries where you have to wait needlessly for all the images to be uploaded then you're going to really notice a speedup in your workflow here. If you wish to update your site's design then you should edit the template in the web module. Don't forget to save your changes back to the template before publishing. The next time you publish an image the entire site will be updated to include your modification (but the images won't be uploaded again, obviously). Creating private galleriesYou may also like to learn about creating private galleries.
|